Moulding and Casting
This week was about molding and casting, this is an important assignment for me as molding casting consist of major part of my final project. Neil wanted us to make a flexible mold which would be used to cast a rigid matrial.
This week was about molding and casting, this is an important assignment for me as molding casting consist of major part of my final project. Neil wanted us to make a flexible mold which would be used to cast a rigid matrial.
I decided to do a simple logo of my dome which will be casted in hydrostone and pasted on my dome
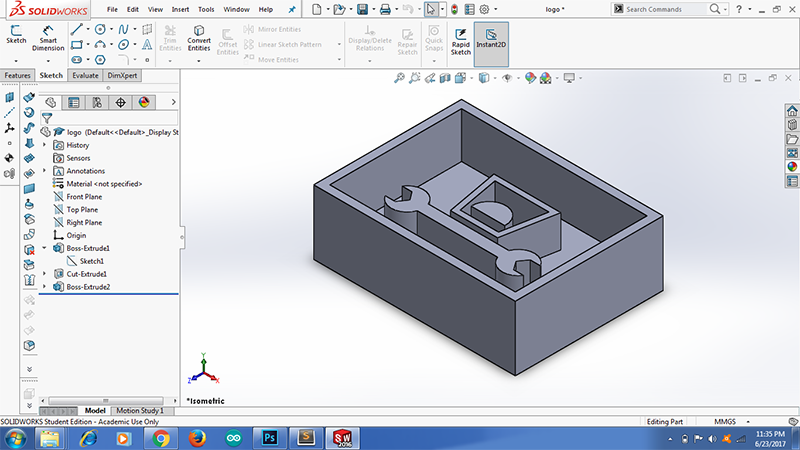
I started with making a design file in solidworks, this file in .stl form will be used by the Modella to carve out the shape in a machinable wax Vigyan Ashram does not have a Shop bot machine thus this way we are overcoming the shortfall of the machine.
This will be a single sided mould, done in 3 steps.Thus the first mould made out of the wax will be the positive shape of the job
I made a design of the job as well as the other part surrounding it too, this is just to take care that I get an even top layer without any bumps in the wax.
I made sure that the top edge of the mould is at a lower height than the top edge of the rest of the area This is to make sure that there is some thickeness of moulding material the top edge of the job.
I gave 3mm thickness to the edges as well as the top and the bottom.
I converted the file in .stl format download it from here and the solidworks file from here
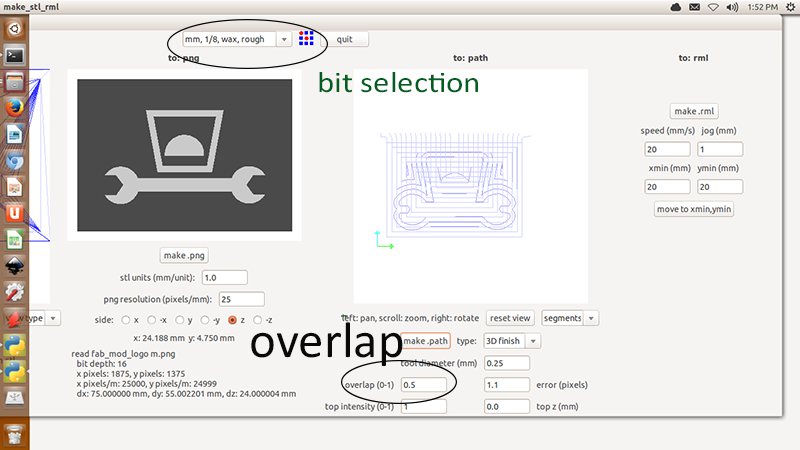
Now I moved to the modella machine, We are using the offline version of mods as there are frequent network problems at Vigyan Ashram
I loaded the file in the fab modules and as I started to mill it I found out that the it was not milling the right parts, I soon realised that the orientation of the file was wrong.
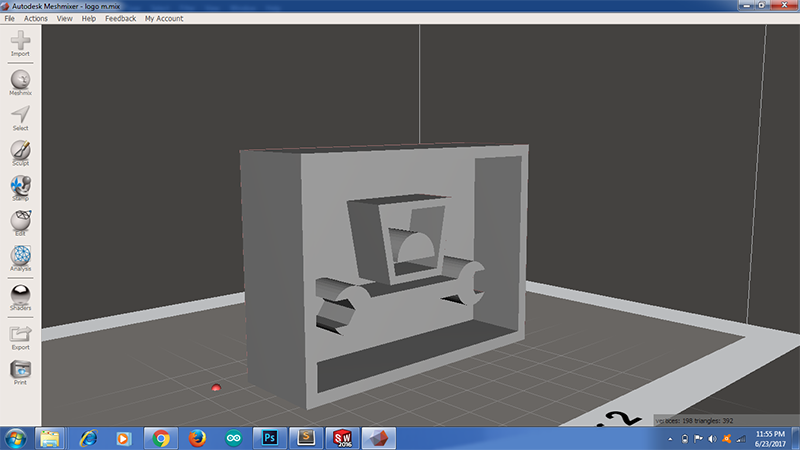
Thus I went back to Autodesk meshmixer and I changed the orientation, Orientation is very important for milling wax on modella the job should be oriented perpendicular to the top plane
This should be the orientation of the job
All set and done I selectd 1/8" rough drill as a machining tool and proceded with the job.
I got the wax carved nicely, I am happy with the finish I dont feel the need to make a smooth cut for it.
But I soon realised that the carving is not exactly the same as the one in the file the gap in between the logo is missing and also the dome is not properly shaped, one of the border is very thin on the verge of breaking
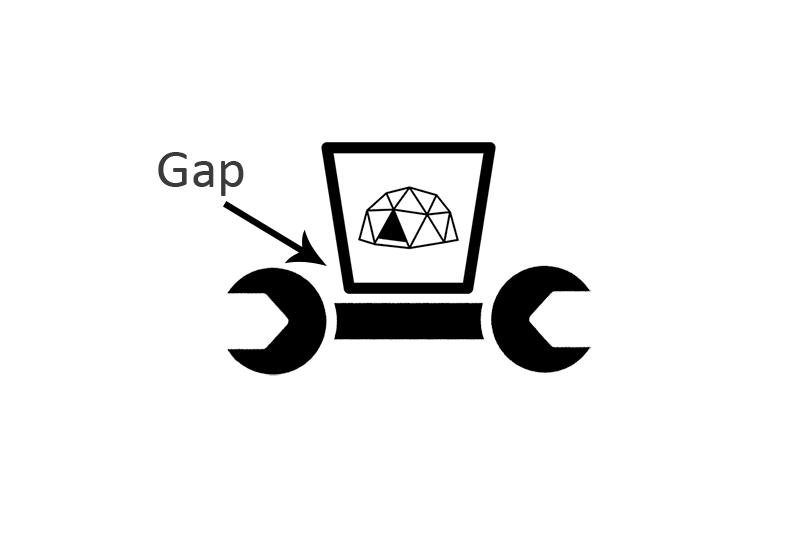
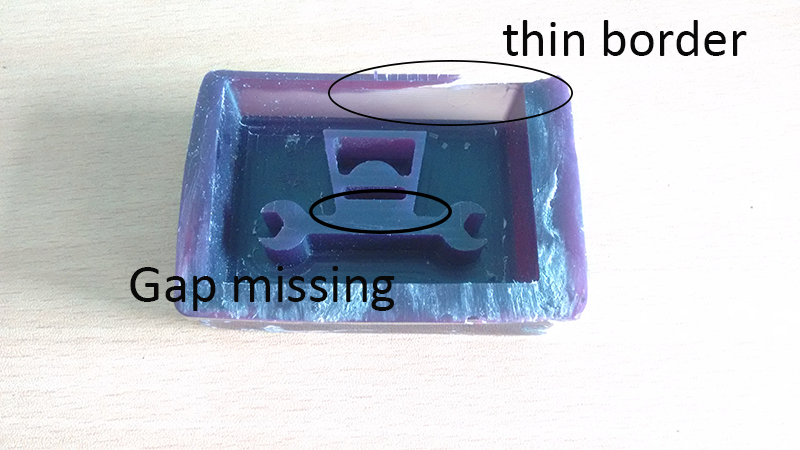
I soon realised that the problem lies with my file, the actual dimension of the gap is 2mm in the design file, but the bit I am using is 1/8" that is 3.175mm in diameter so the milling bit did not enter into that gap, I soon realised that the same problem had occured in the case of the dome not getting milled properly.
Thus in conclusion I would say that The design file should have the minimum dimension not less than the diameter of the milling bit in my case I should have used a milling bit of 1/16" diamter.
But anyways, I am going to go ahead with the casting
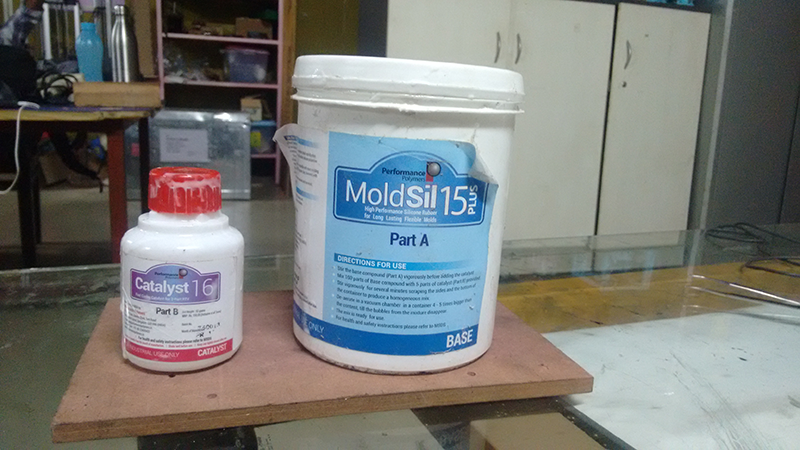
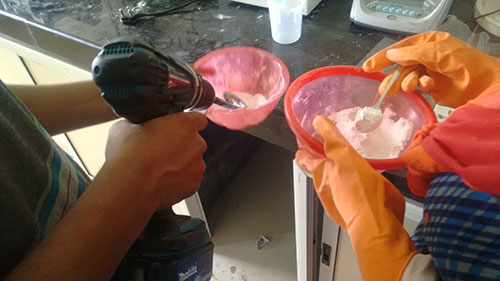
I am using silicon rubber as a moulding material which will be poured in this wax mould and this will form the negative. It consists of two parts, a rubber solution and another is the hardner. The mix proportion is 5 parts of hardner to 100 parts of silicon solution. Vigourous agitation of the mix is very necessary in order that the bubbles are not formed in the mix.
I poured the silicon rubber solution in the mould, we need to be really quick at this moment because the solution will start to set fast , we cannot waste time in fetching things that we want, we need to have everything in place before we start.
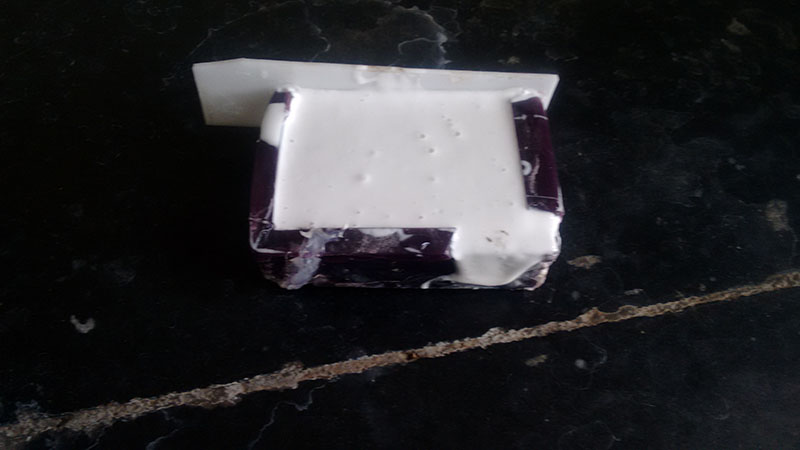
I tapped the mould with my hand so that the bubbles are not formed, but still there we some bubbles on the surface, but I figured out they are not much of a concern I just want the inside of the mould to be perfect.
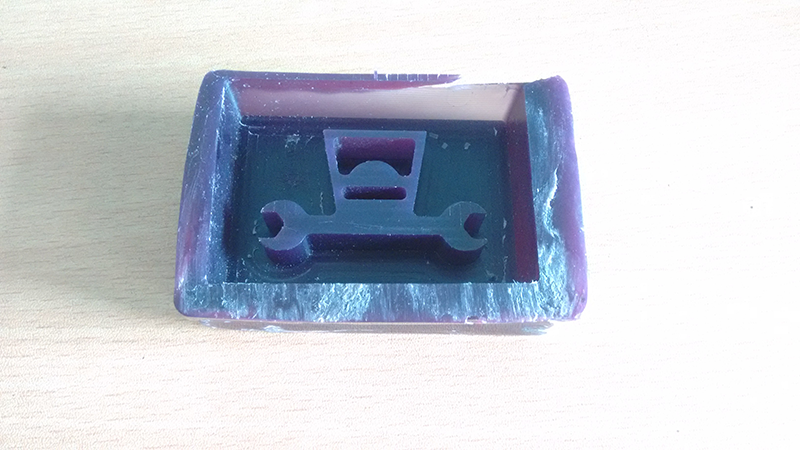
After 2-3 hours the mould had become pretty hard and it was ready to be removed, as it was my first time with the silicon rubber I did not hurry much and decided to wait for some more time, I removed the silicon rubber mould from the wax mould and it was really easy to get it out, the mould did not stick atall to the wax. Its just needed some treaming of the edges

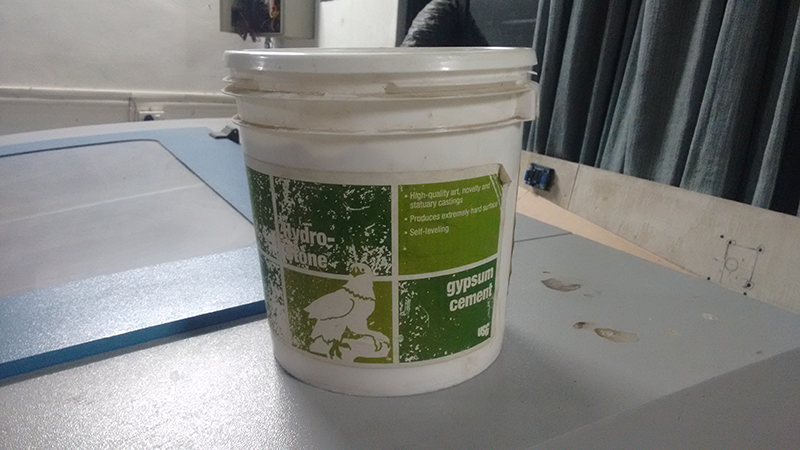
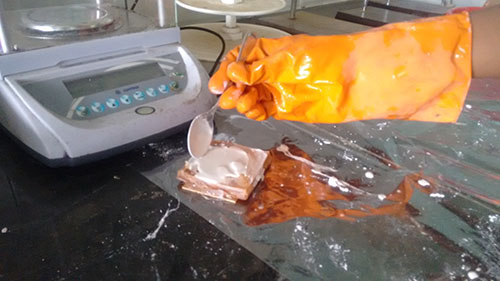
Again some features in the mould were not casted properly, now it was time to cast I am using Gypsum based cement powder the brand name is Hydrostone, it hardens after addition of water and the instruction says that one needs to add 32 parts of water to 100 parts of hydrostone.
The trick here as it is given in the instructions is to have continous wipping of the mixture, for this I deviced a unique juggad stirrer which will give a continous rotary motion
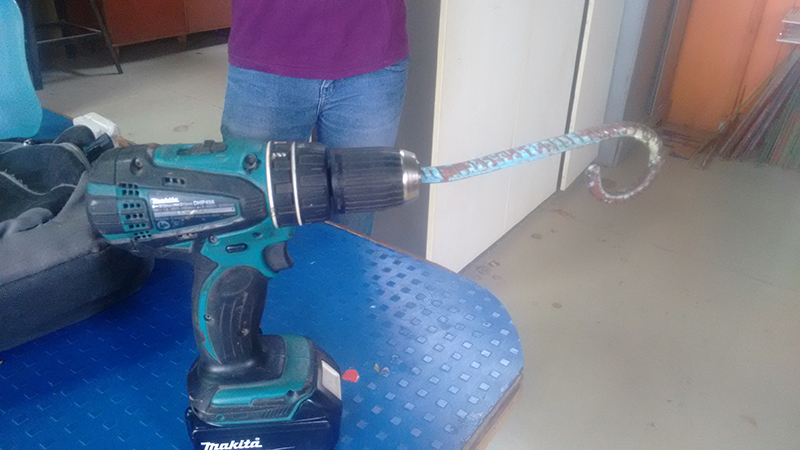
Also we need to add powder to the water and not the other way around, also the powder should be added in sprinkling form.
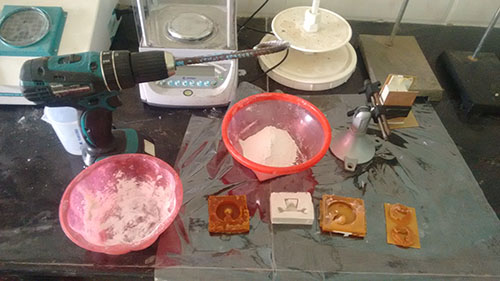
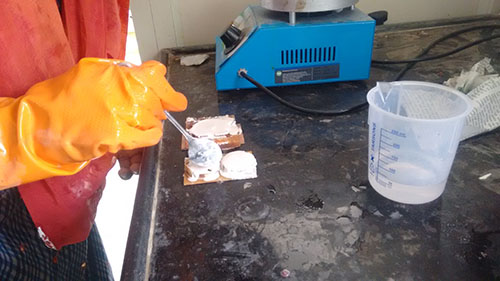
Again, we cannot waste time here as the mixture gets hard quickly, a little bit of tapping is also required to remove air bubbles from the mixture once it is poured in the mould
Just to save the wastage of the material, casting of a the mould was done in a collective way
The hydrostone sets quickly, but I still gave it 12 housrs to rest .
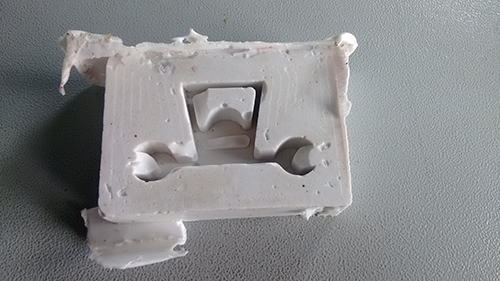
Did it come out good?????
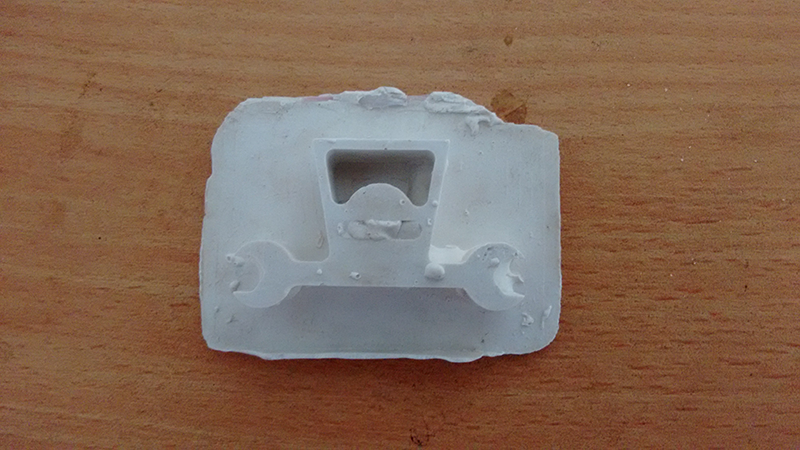
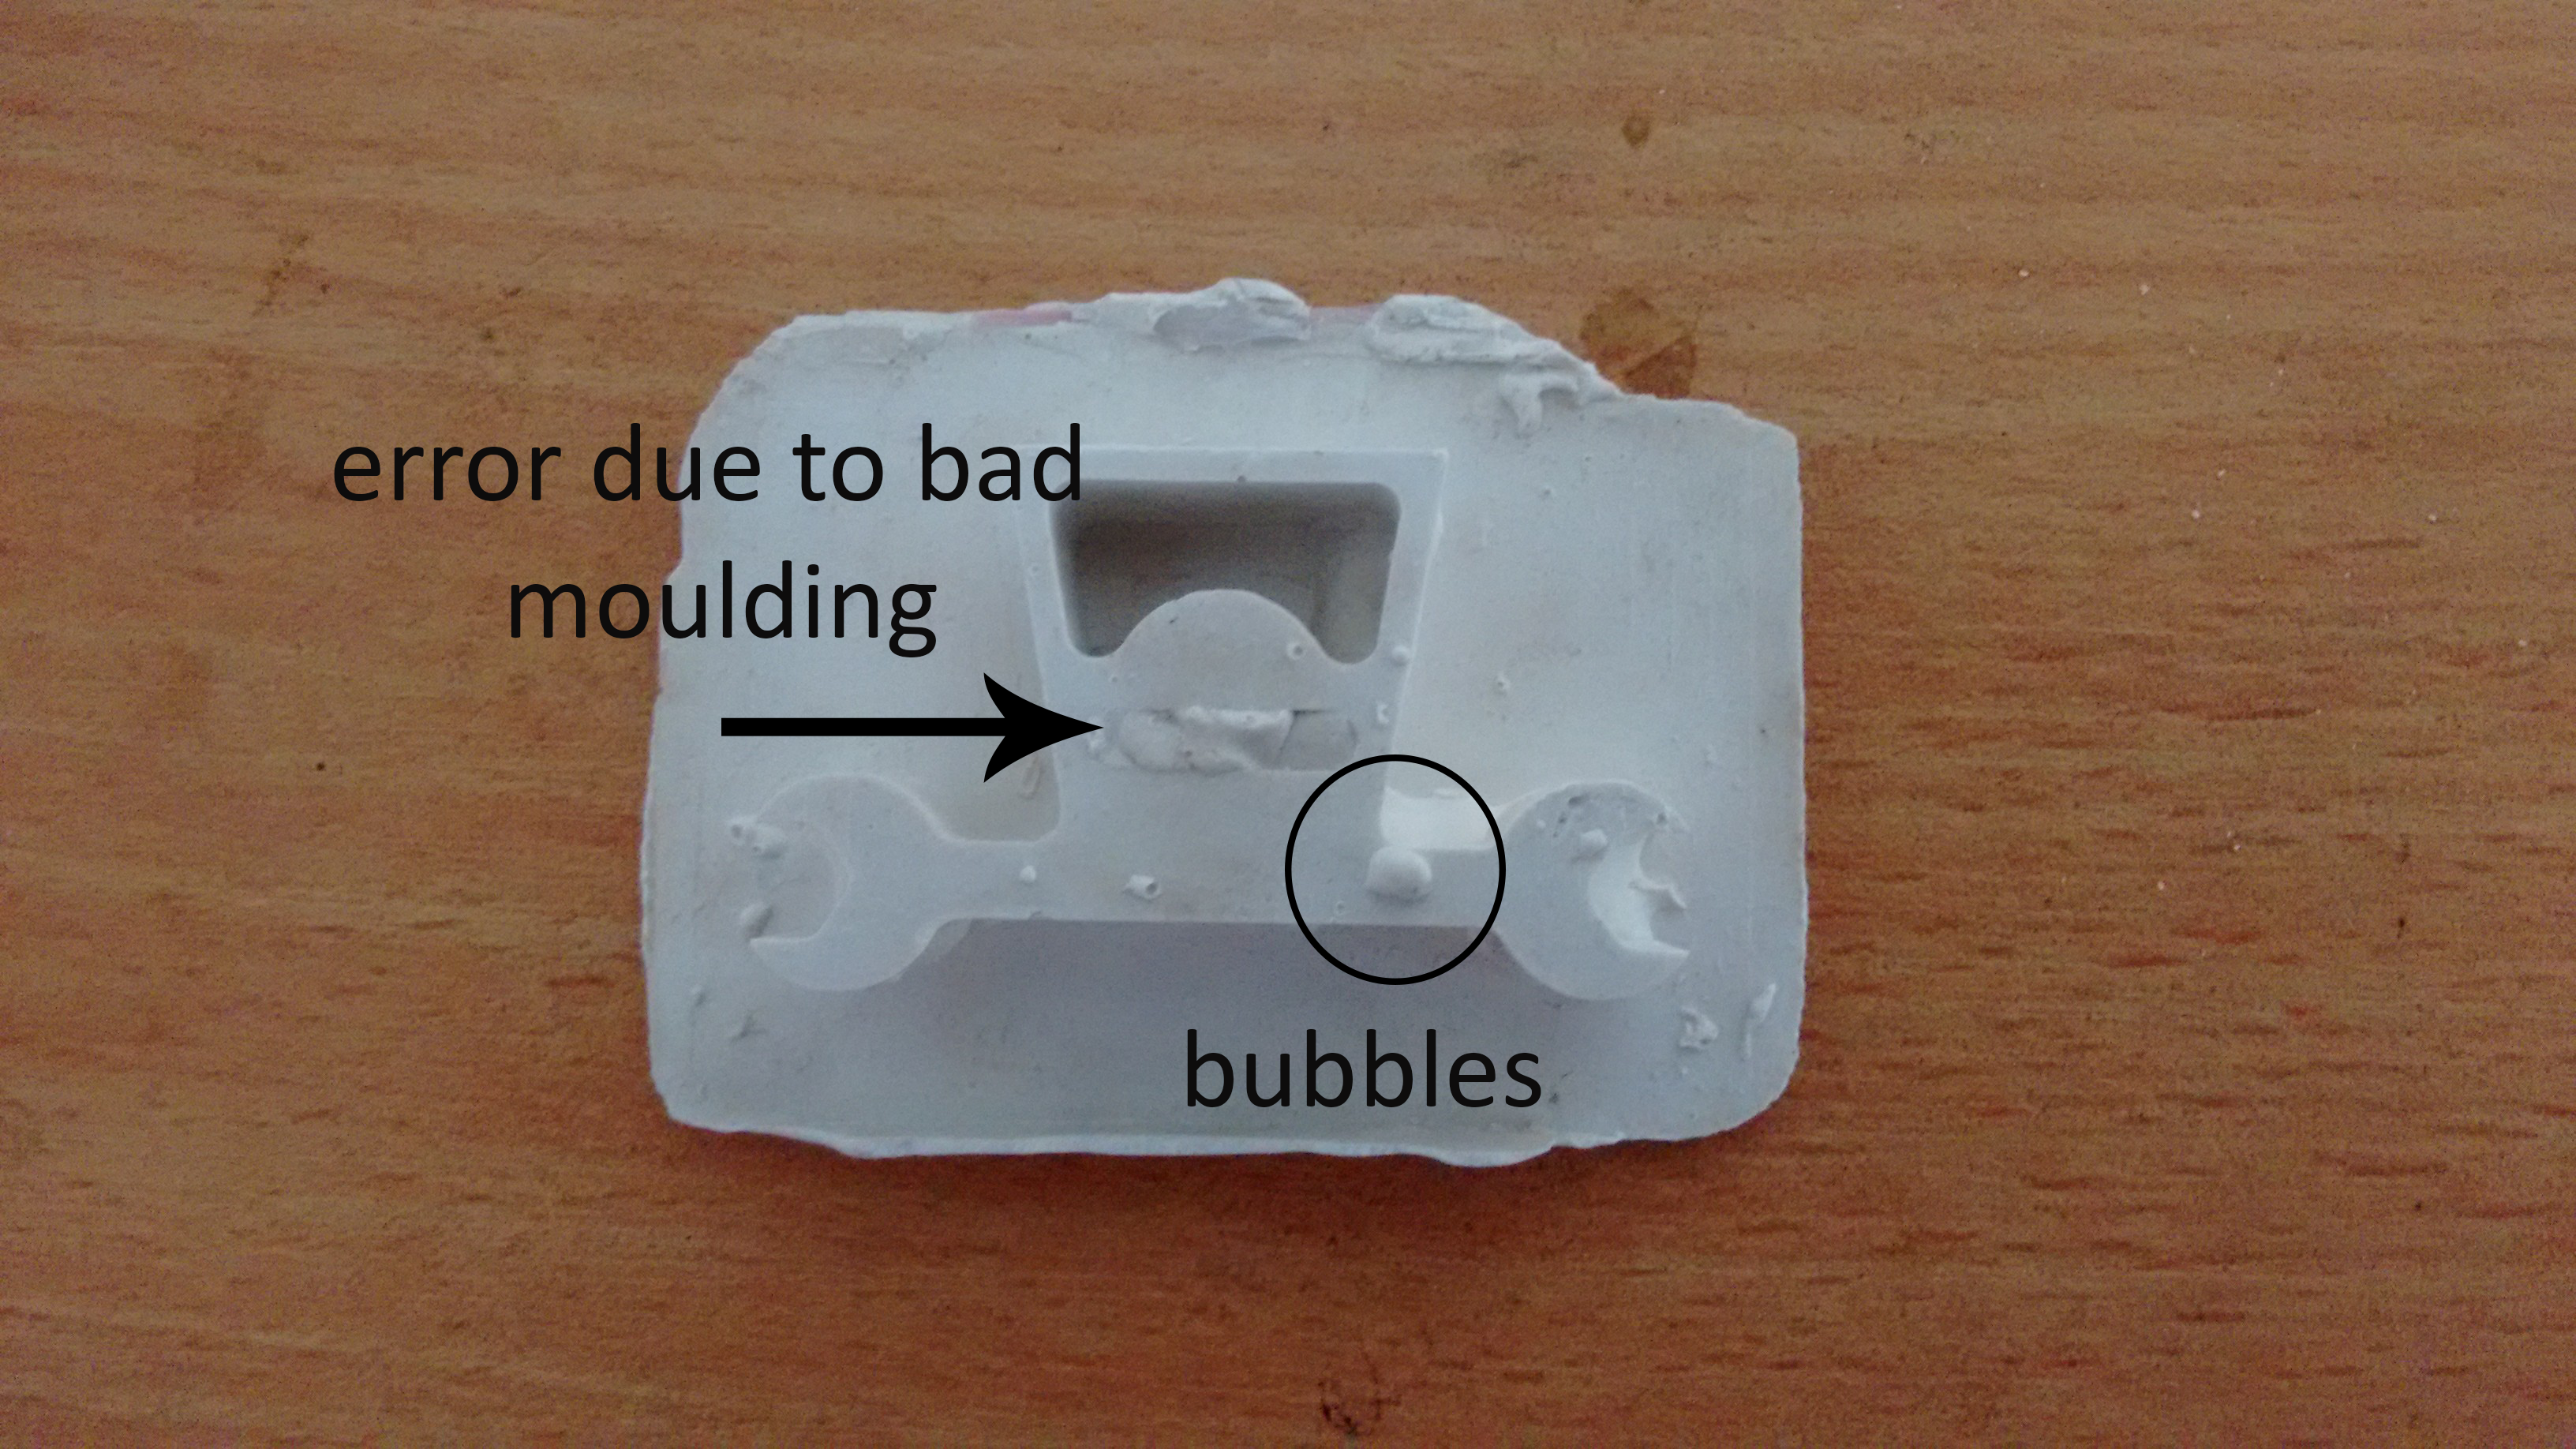
It is a good result for first attempt, but I still need to perfect this, there are a few bubbles seen on the surface, I need to find a way to get them out, there is one more problem and it is not due to the casting rather than a bad moulding, the final shape does not match exactly to the one in the original solidworks file.
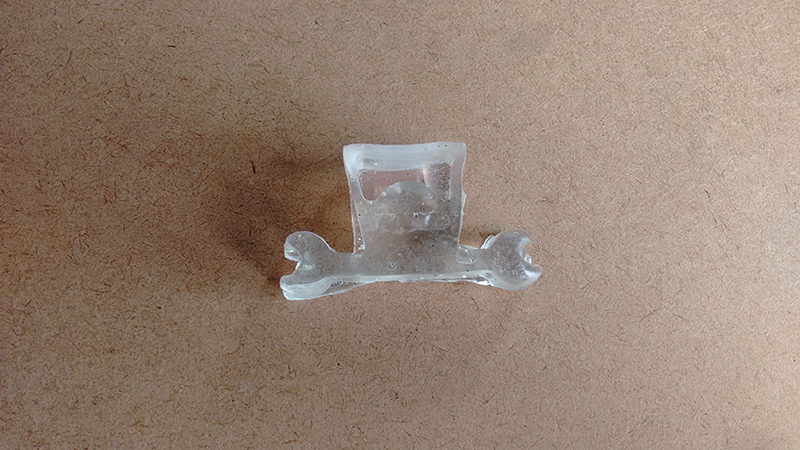
I casted epoxy resin in the same mould and the results were not that awesome as I thought they woukd be. I used the epoxy resin and the hardner in the ratio of 2:1 and gave it a setting time of almost 8 hours.
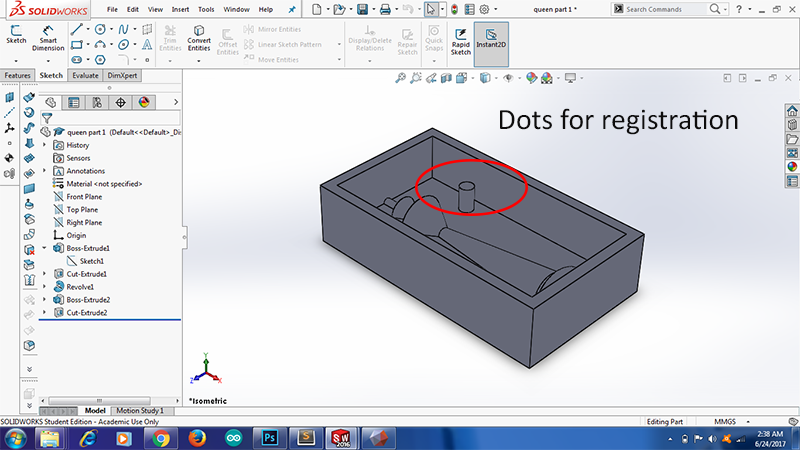
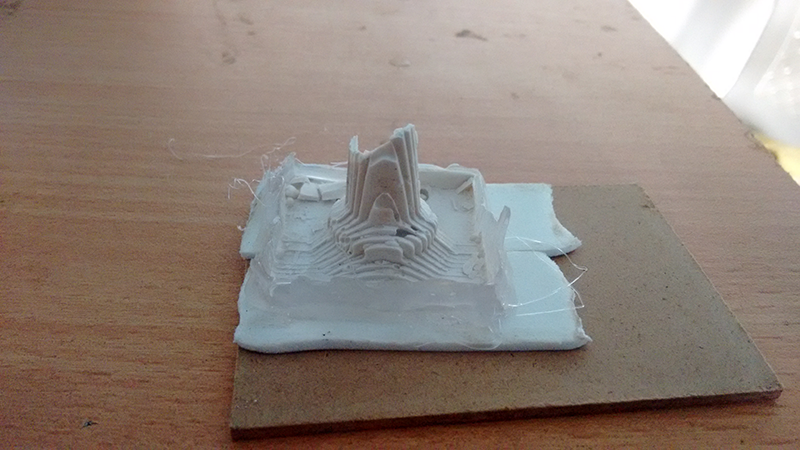
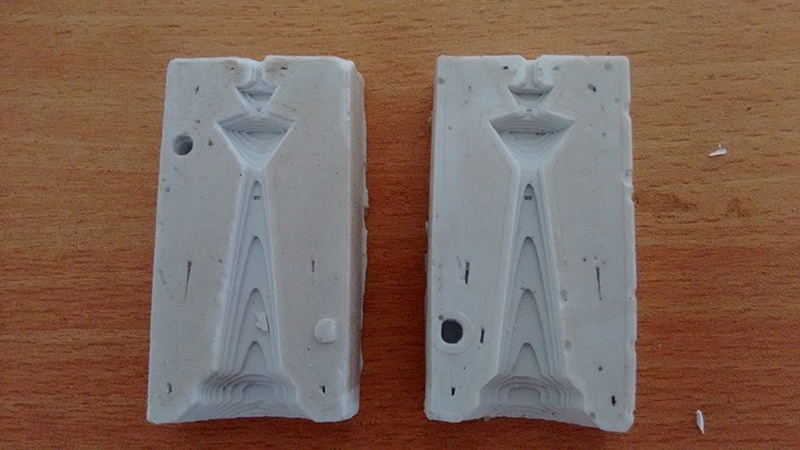
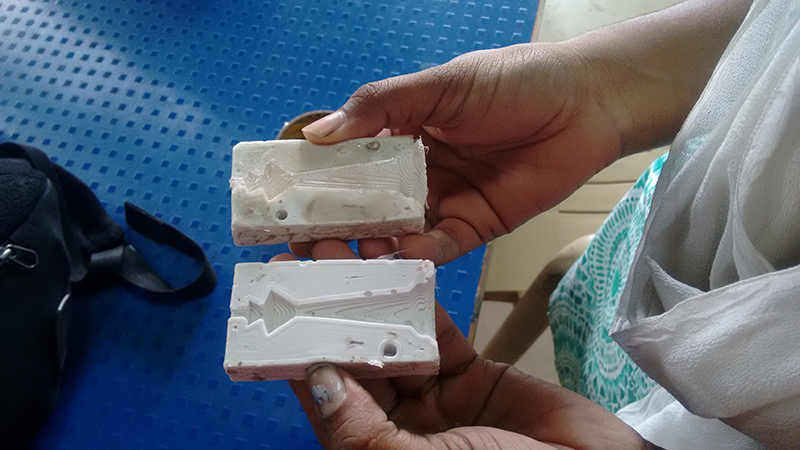
I made one more mould, this time the mould will be two sided its a queen from the battle fields
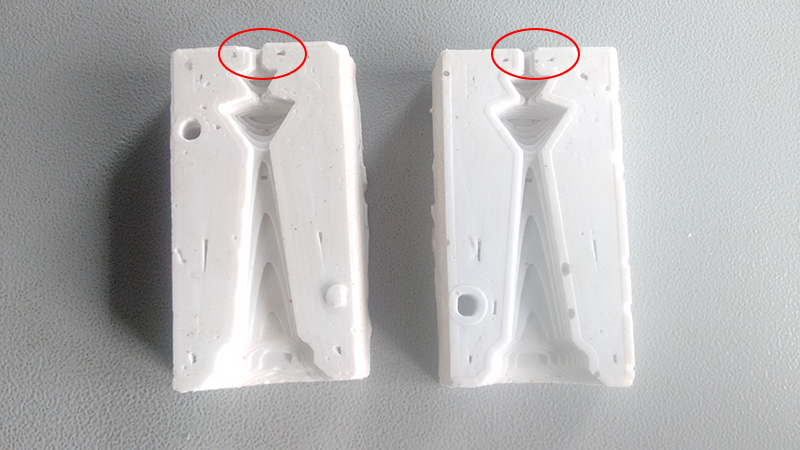
I had the option to use a ball tip bit to finish this mould but I liked the natural countoured texture for due to the rough cut. So I used the mould as it is.
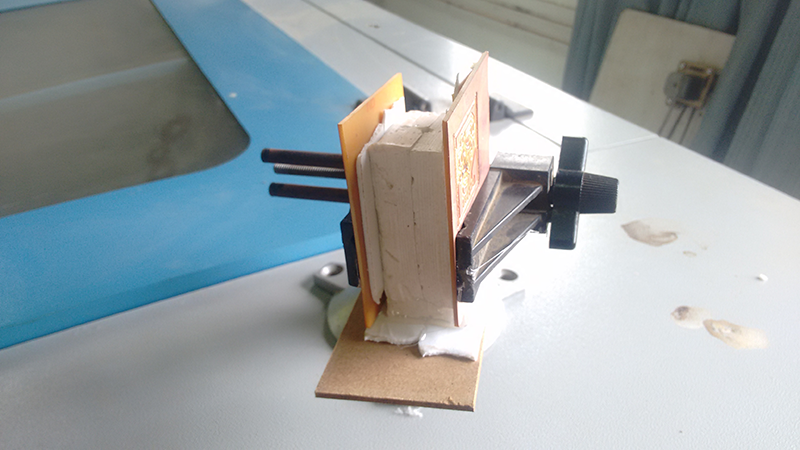
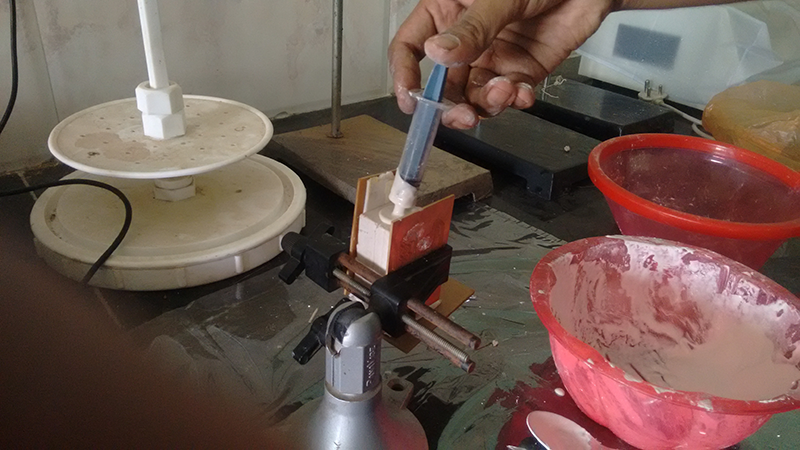
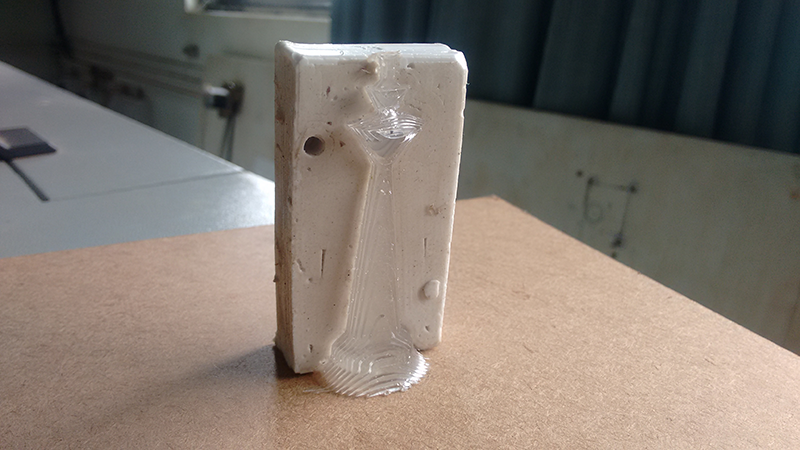
I had to make some special arrangements for this mould, I had to secure the two moulds tightly so that when I pour the hydrostone it will not expand and increase the air gap between the moulds, also while pouring I had to make sure that I pour through the vents using a syringe, because I want an the hydrostone to reach every corner of the mould
I used a PCB hoder to secure the moulds, I took care that the shape of the mould has not changed with applying pressure, thus I had to strike a balance.
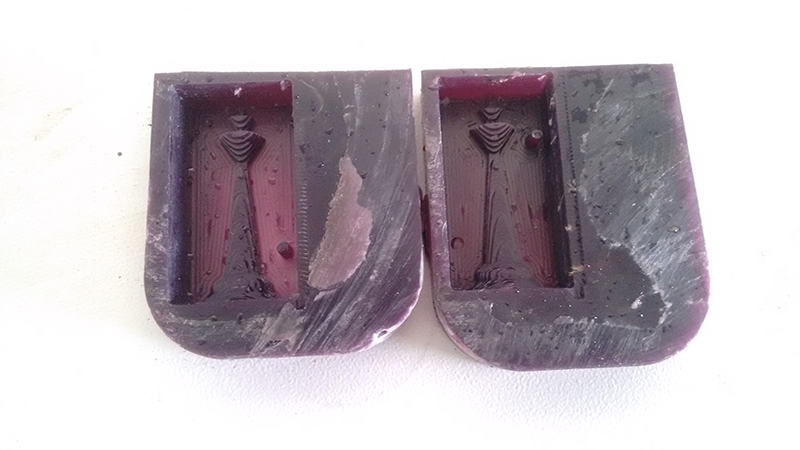
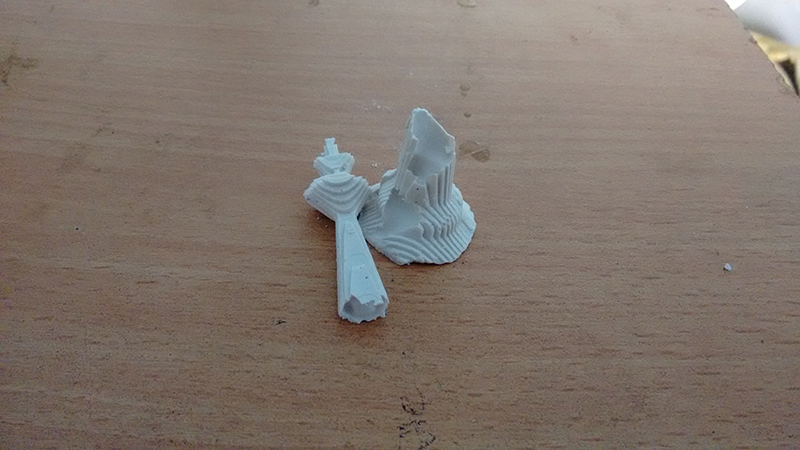
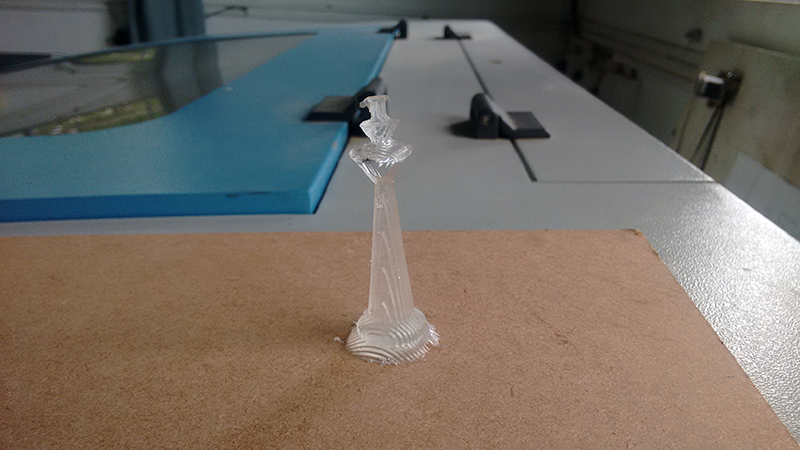
I almost had a perfect castinf untill this happened
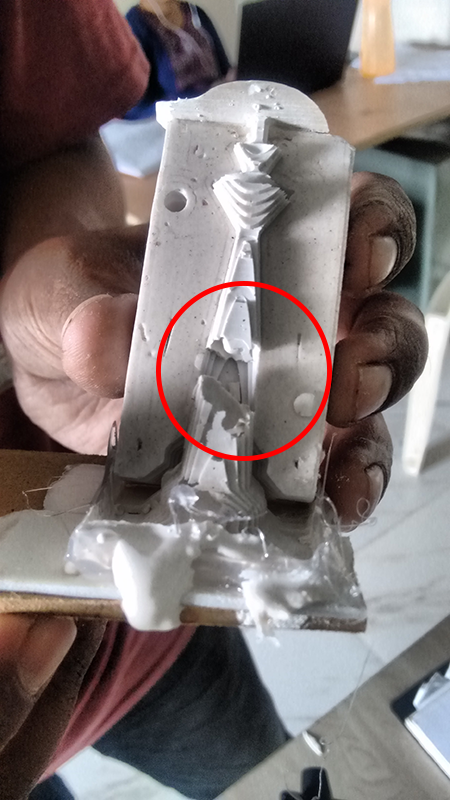
There are majorly 2 resons for this, the hydrostone is not holding itself together, maybe the water and hydrostone ratio did not produce the required strenght.
There was a bubble formed at where it broke, so a lot of tapping is required as I pour the material in the mould
I would have loved it if the job had turned up in one piece
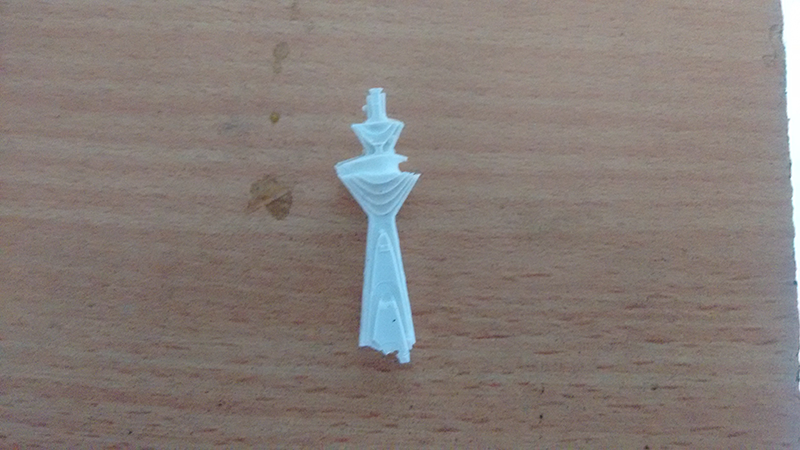
I am most happy about the silicon rubber we are using, it is amazing, the moulds that we made out of reatin their dimensions after casting, I believe a lot of repition can be done on them.
It does not adhere to the casting material, it is a natural releasing agent.
Tried the same mold with epoxy resin and I was really impressed this time.
Neil was right when he said that if 3d printing is over represented, moulding and casting is under represented